Overview
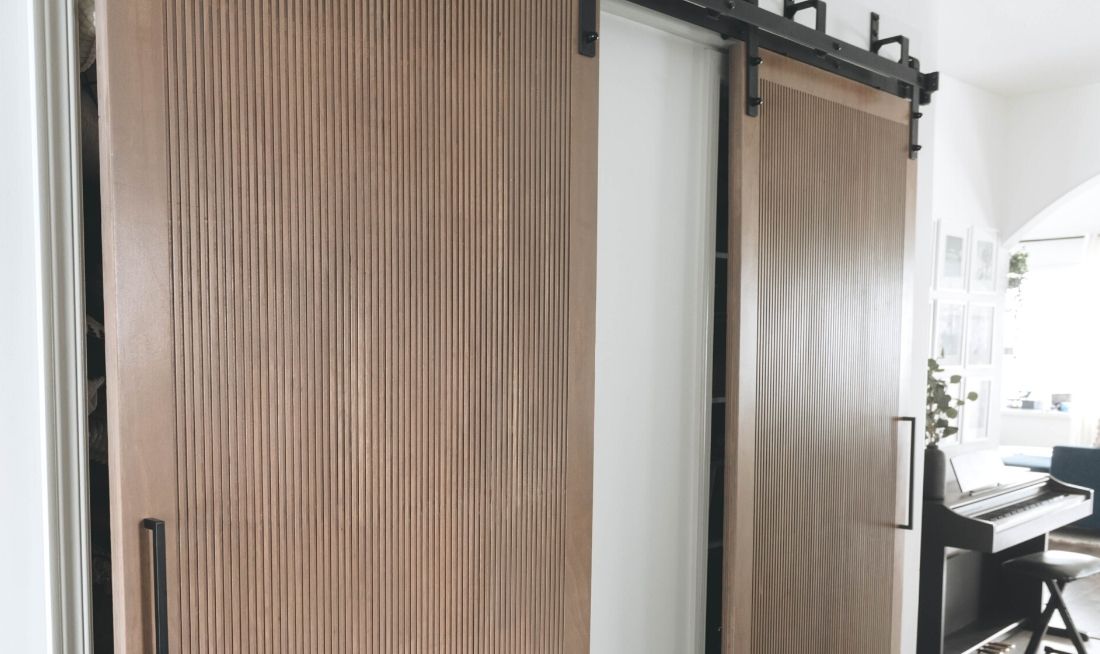
Hey everyone, this is Lindi from Love Create Celebrate! This month, we finally did something that we’ve been dreaming about for years! We built our own custom Barn Doors!
Before
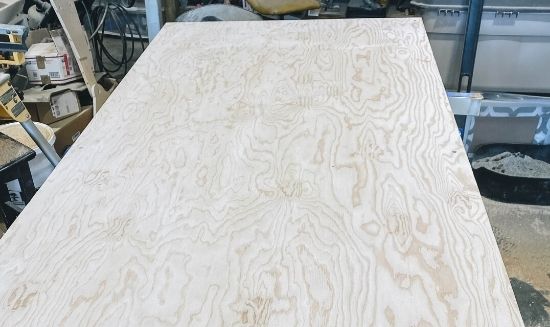
After
Create a Design
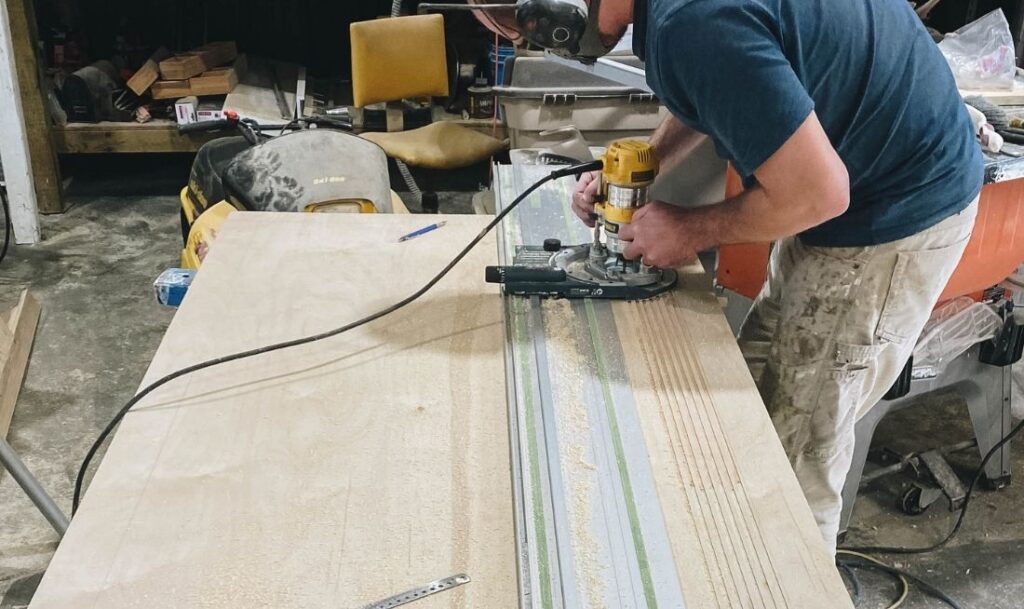
I had a design idea that involved a lot of custom cuts with our router. It wouldn’t cost very much money, but would take some extra time and patience!
Step #1
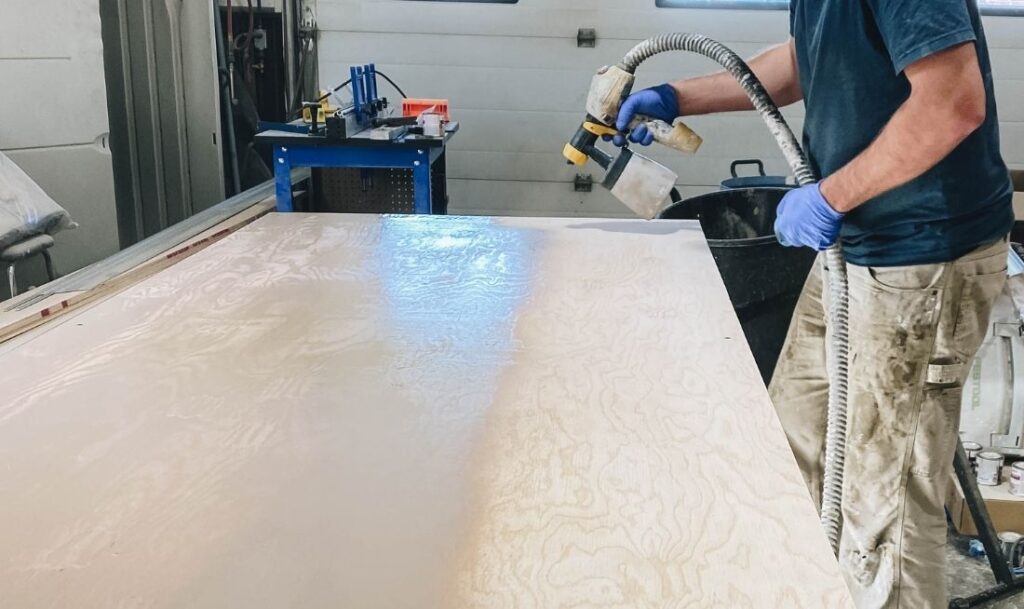
Apply Stain with a FLEXiO Sprayer
When the doors were done, we were so happy with the design! We debated staining or painting the doors ahead of time, because we weren’t sure how nice the cuts would be, but when it was done, the wood looked incredible, and we knew we could stain it easily!
Step 2
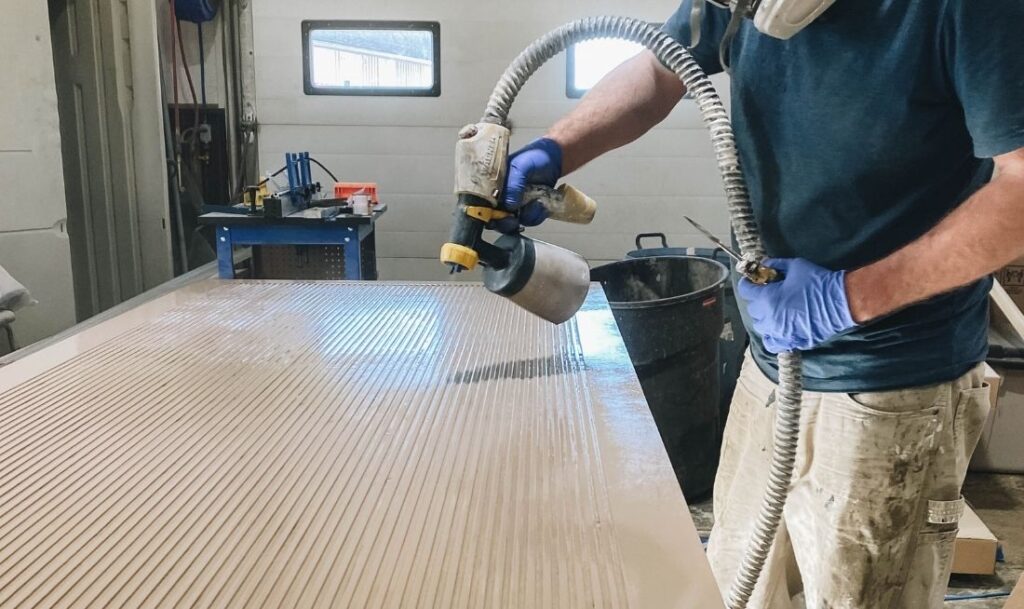
Apply Sealing Coat
The only way to get into all of those little groves without losing your mind is with a sprayer, lol. We used our Flexio 5000 and it worked perfectly! We sprayed from both directions to get every angle, We also used the Flexio 5000 to spray on the polycrylic afterwards, and it only took a few minutes to spray the entire door.
Step 3

Enjoy Custom Made Barn Doors!
We are so happy with how these gorgeous doors turned out! To see all of the details on how we made these beautifies, visit our post and video tutorial at Love Create Celebrate!
This sponsored post was created by Love Create Celebrate
Step 4

Download Project Steps & Shopping List
We’ll never share your email with anyone else

