Overview
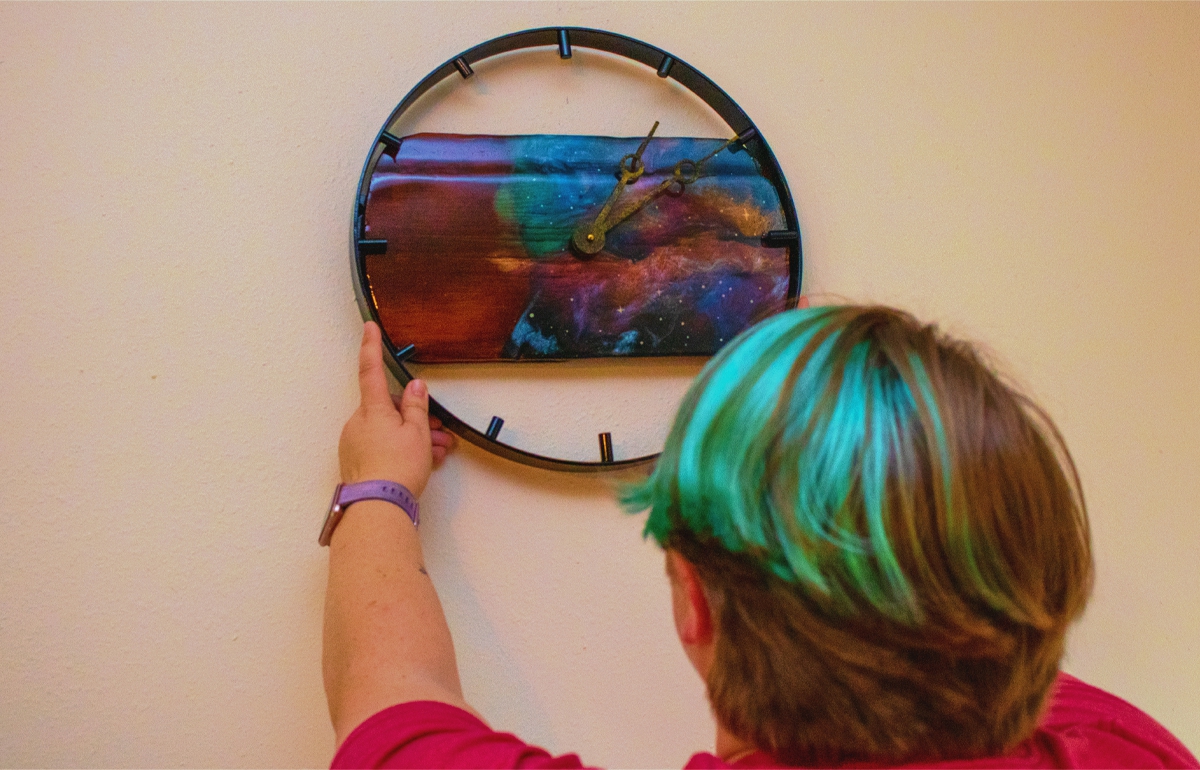
I have quite the stack of old reclaimed barnwood in the shop. In the past I have used it on some rustic projects. However, I really wanted to find a way to modernize it a bit. Something I consider pretty modern in the world of woodworking is resin. So, I decided to combine barnwood and resin to make a clock that is out of this world!
Prepare the Wood
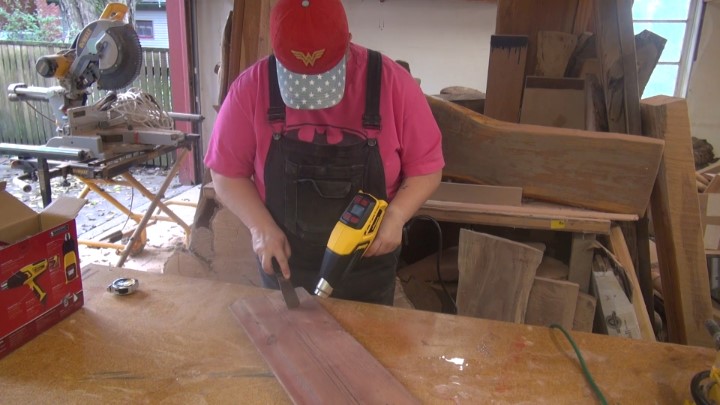
Since the reclaimed barnwood that I have still has the old paint on it, I needed to do some work to it before jumping right to the resin. To remove the paint, I have the perfect tool to make it a breeze, a Wagner FURNO 700 heat gun. Using the FURNO 700 set at 650 degrees, I warmed up the surface and then easily used a putty knife to scrape off the paint. After removing the bulk of the paint with the heat gun, I used an 80-grit sanding star and my sanding system with flex shaft to remove any remaining paint and some dirt and debris.
Step #1
Paint the Wood
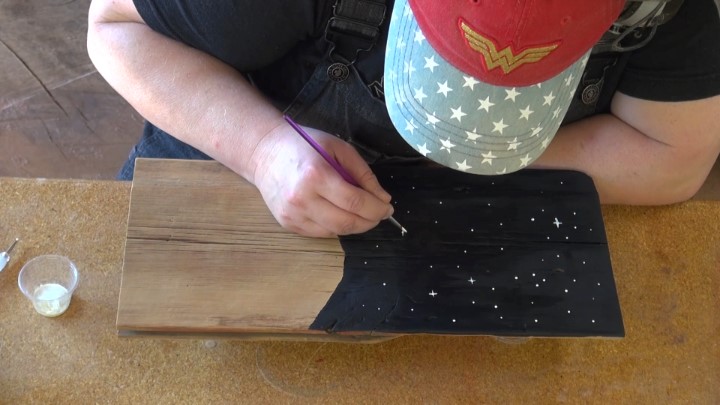
The way I decided to use resin to modernize the barnwood was by adding a space nebula to the board. I wanted to show both the old with the new, so I only put the space nebula on half of the board. The half of the board where the space nebula would be needed to be painted a dark color so it could look like the night sky. I mixed black, blue, and purple acrylic paint to get the right shade and painted it onto the barnwood. Once that had dried, I decided to add some stars. I used an embossing tool to create some star fields with a mix of white and light tan acrylic paint. For a few of the stars I used a small paint brush to spread them out a bit and make them stick out.
Step #2
Make the Resin Galaxy
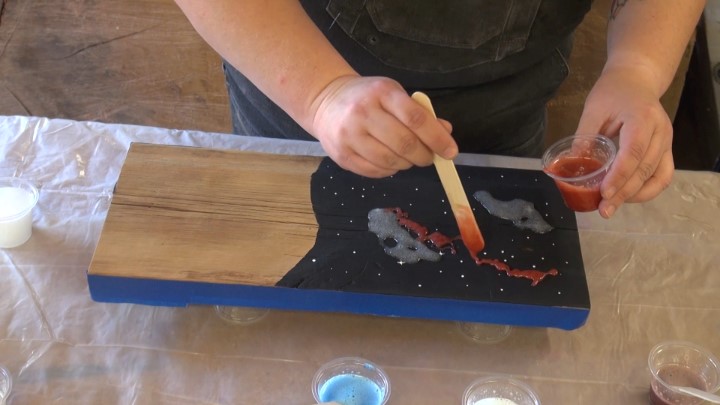
For making the galaxy, I used a two-part resin and hardener kit that I purchased at the local craft store. I mixed up 8 ounces and divided it amongst 9 smaller cups which contained different colors of metallic powder. The colors I chose to use were: green, blue, red, maroon, copper, pearl white, white glitter, blue-green glow in the dark, and clear. I put down some strips of the green, blue, red, maroon, glitter and glow in the dark to start with.
Step #3
Use the Heat Gun
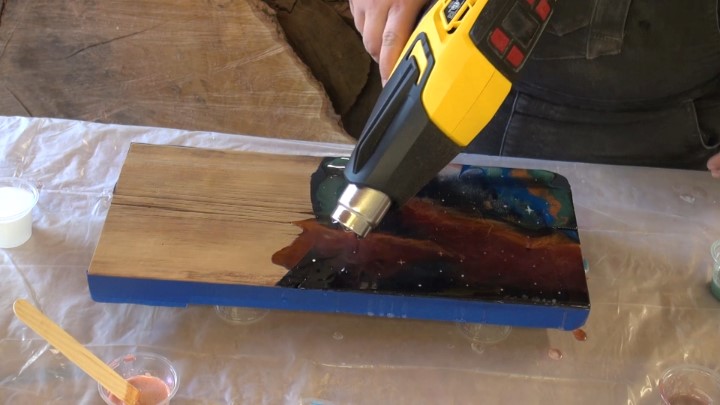
I used my Wagner FURNO 700 heat gun, set at 650 degrees, to heat the resin, remove bubbles, and get the resin to flow. Once it was flowing, I used the FURNO 700 to move and blend the colors. I did this three separate times, doing a variation of colors until I reached the desired look for my galaxy.
Step #4
Cut the Wood
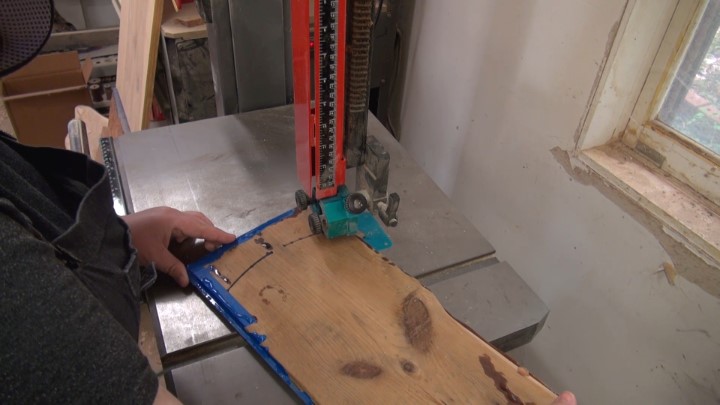
I worked with a local metal fabricator to design and create a metal frame for the clock. After the resin had cured, I traced the curvature of the frame onto the wood and used my bandsaw to cut it to fit.
Step #5
Create a Pocket
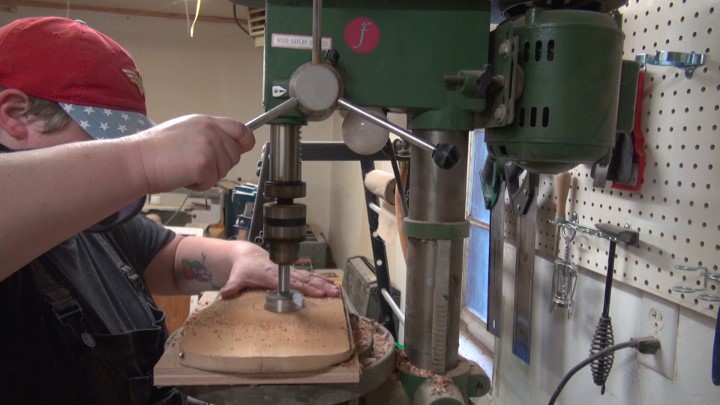
The wood was thicker than the length of clock mechanism rod, so I used a forstner bit on the drill press to create a pocket for the mechanism to sit in on the back of the clock.
Step #6
Customize Your Clock Hands
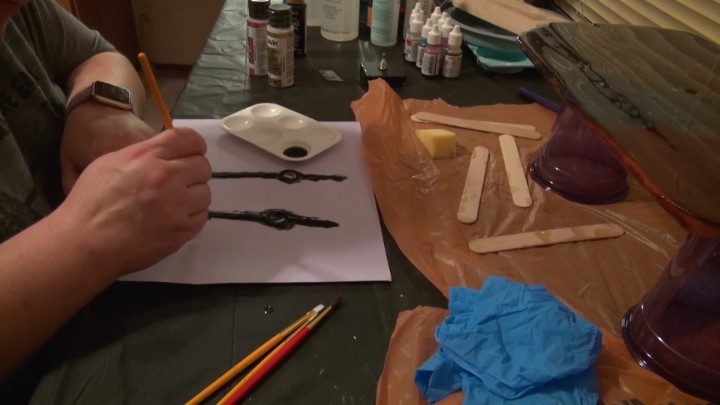
Lastly, since I was not overly impressed with the clock hand designs that are available online or in stores, I worked with a local maker space to make clock hands of a retro design out of thin, but strong plywood. I painted the plywood black with a gold glitter top coat to match the theme of the clock.
Step #7
Assemble
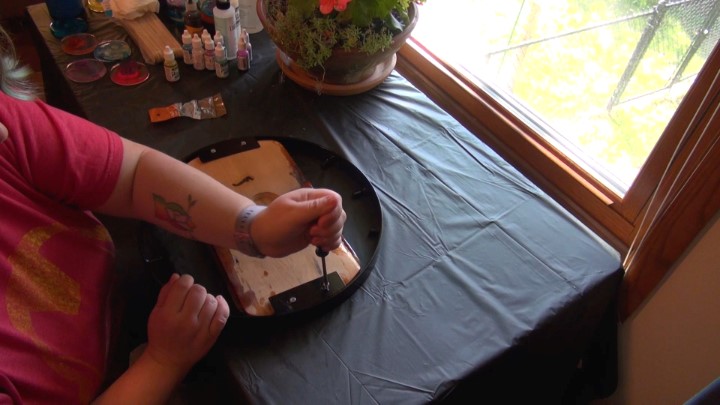
Final assembly was rather easy. I used wood screws to attach the wood and resin galaxy to the metal clock frame. Then I simply threaded in the clock mechanism through the wood and added the custom clock hands.
Step #8
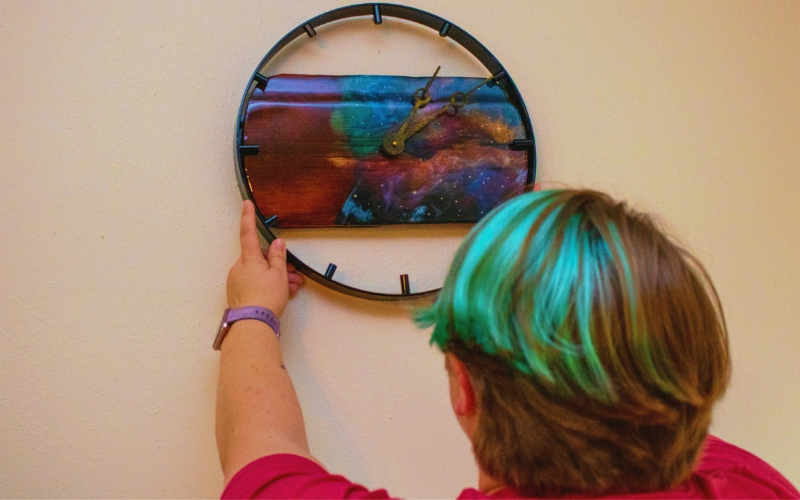
Enjoy Your New Clock
So next time you find yourself with some scrap wood, take a stab at creating your own piece of art or clock that is out of this world!
This sponsored post was created by Freeman Furnishings
Step #9

Download Project Steps & Shopping List
We’ll never share your email with anyone else

