Overview
If you’re looking to give a space in your home a quick and easy makeover, paint is the very best way to accomplish big change on a budget (and on a time crunch!). Here’s a really simple – but hugely impactful – two-day room makeover for a little girl’s room. It started off as a mostly unused space (she was sharing with her sister), but with just a couple of days’ work, a bit of paint, and a few new accessories, she had the big girl room of her dreams!
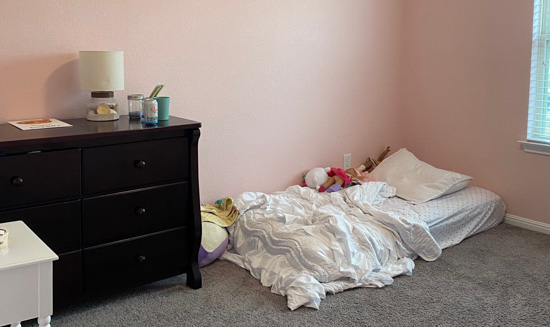
Before
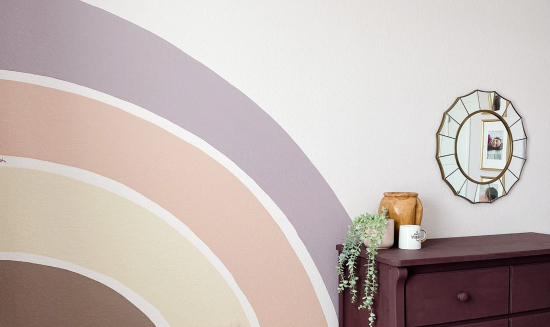
After

Choose a Paint Color
The vibrant pink on the walls was swapped out for a much more subdued, pale pink that feels a little more sophisticated and will likely last her far longer than the bright color would have. Painting a room can feel like a daunting task, but with Wagner’s SMART Sidekick Power Roller, the job takes about half the time, creates less mess, and feels a lot more fun!
Step #1
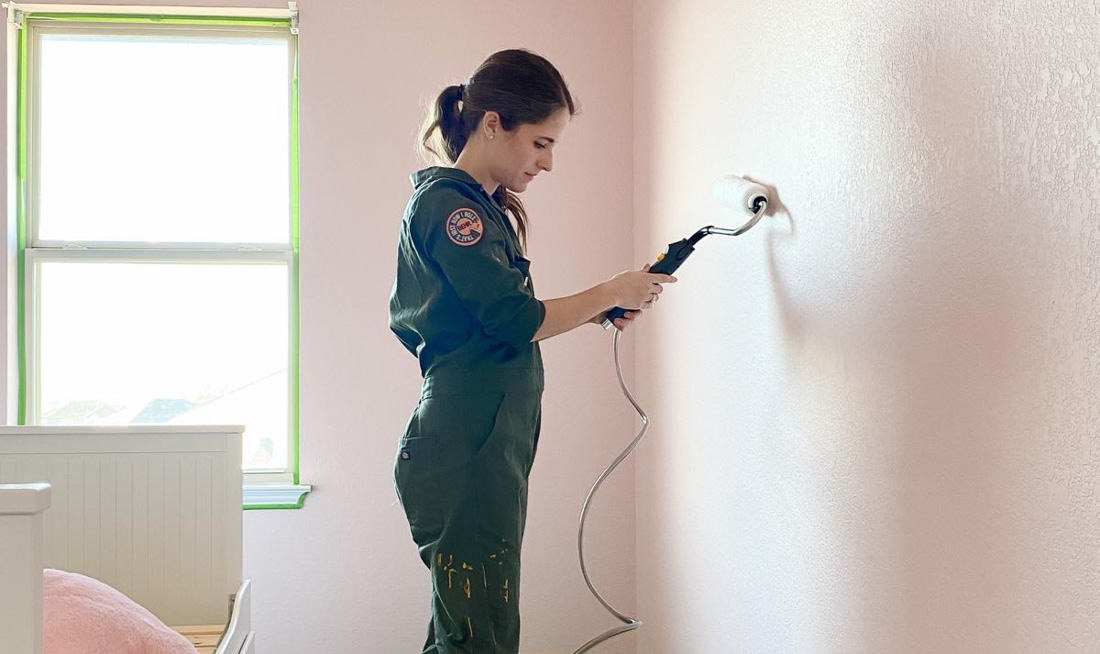
Use the SMART Sidekick to Repaint
I’ve been using my SMART Sidekick for about three years now and it has quickly become my favorite, ahem, sidekick for any painting project! I won’t paint any room larger than a closet without it, because it saves my back from the pain of bending down and refilling a roller dozens of times, it makes the painting process go so much faster, and it’s just all-around a huge time and sanity saver when it comes to any painting job!
I’ve found that, on average, using the SMART Sidekick cuts my painting time about in half – and couldn’t we all benefit from a little extra time?! There are a lot of reasons it’s such a time-saver, but the two big ones are:
- You never have to pause to refill your roller when you run out of paint – the roller fills back up for you with the press of a button!
- The coverage you get using the SMART Sidekick is far superior to coverage from a regular roller, because it’s always fully and evenly saturated with paint.
Step #2

Trace an Outline and Paint Rainbow
Once I finished re-painting the walls with my Sidekick, I painted a simple, muted rainbow on the walls for a fun touch. Unique murals and paint treatments in kids rooms are always a really budget-friendly, low-commitment way to add some personality and interest, and they’re honestly so easy and fun to paint that I always look forward to it!
To paint a rainbow mural on the walls, you can simply use a pencil tied to a piece of string (which you’d then attach to the bottom of the wall where you want the center of the rainbow to be) and then pull the string tight to help you trace your lines. Just cut the width of your stripes off of the string after you draw each arch. Then, use a high-quality angled brush to fill in your lines and you’ve got a cute, hand-painted rainbow that’s sure to make your little one smile!
Step #3
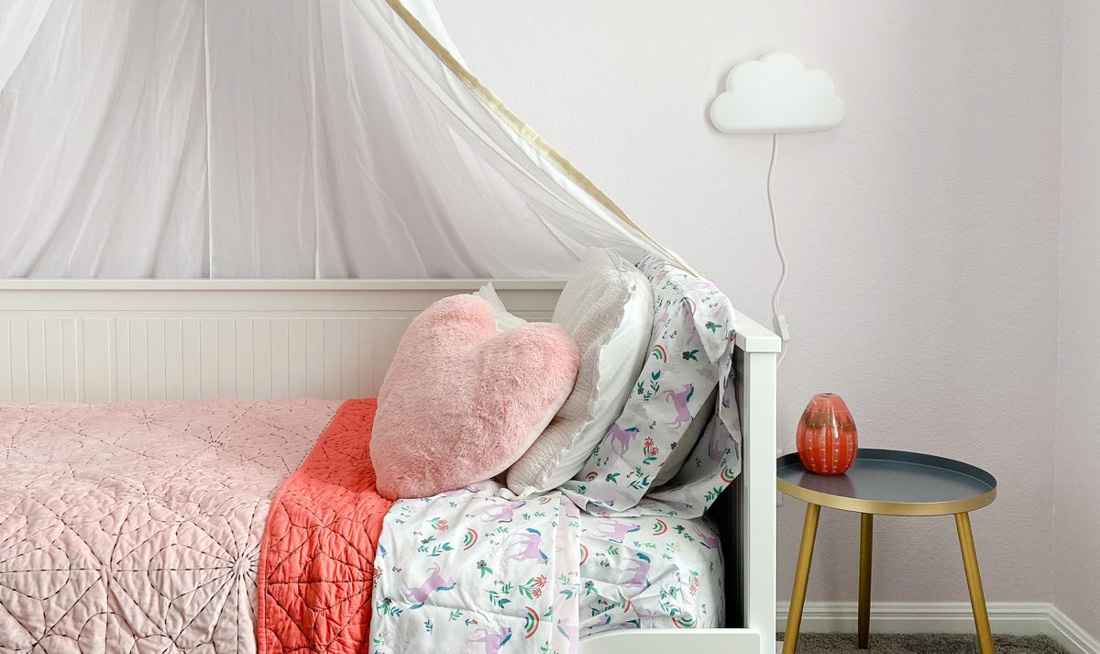
Enjoy the Sweet Addition to the Room!
This project is a great reminder that you don’t have to make a ton of changes to a space, spend a lot of money, or work for weeks to make a big impact!
This sponsored post was created by Love and Renovations. Head to the blog for the full post and details.
Step #4

Download Project Steps & Shopping List
We’ll never share your email with anyone else


