Overview
We love decorating for the holidays, especially with holiday village décor! The snow-covered shops and houses make a room feel full of holiday cheer. However, these holiday villages can be expensive to buy brand new so in this tutorial we’ll show you how to paint your own holiday village!
Instructions
Gather Your Supplies
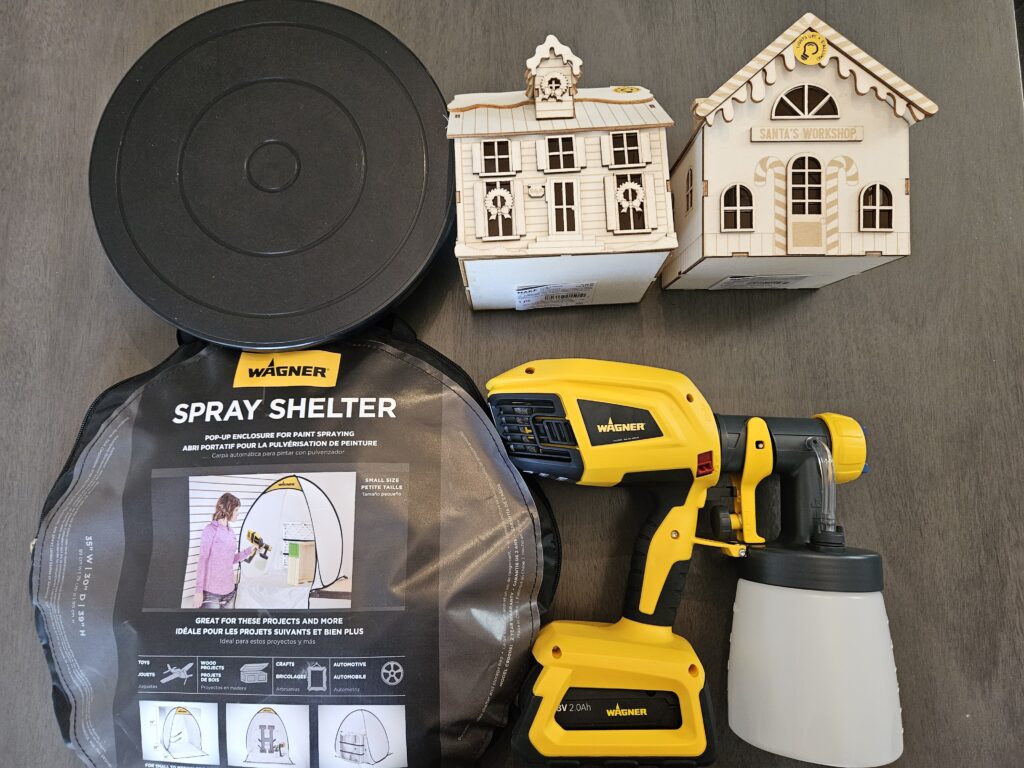
Start by gathering your supplies. Most importantly, you’ll need wooden holiday village houses. These can generally be found at your local craft store for an affordable price during the holiday season. We found these little houses that also have a light inside to create the perfect, festive glow!
You’ll also need paint, a cordless FLEXiO 3550 sprayer, Small Spray Shelter and TurnTable. The FLEXiO 3550 is great for small crafting projects like this and other projects where you don’t have access to an electrical outlet. For the paint, we chose to only use white paint for a soft, minimalist look, but you can get creative and choose whichever colors you’d like!
Step #1

Set Up the Painting Space
We live in Minnesota where it’s already starting to get really cold, so we set up the Small Spray Shelter indoors on our kitchen table. This will capture any overspray and protect the rest of the dining area from mess.
Step #2
Set Up Your Paint Sprayer
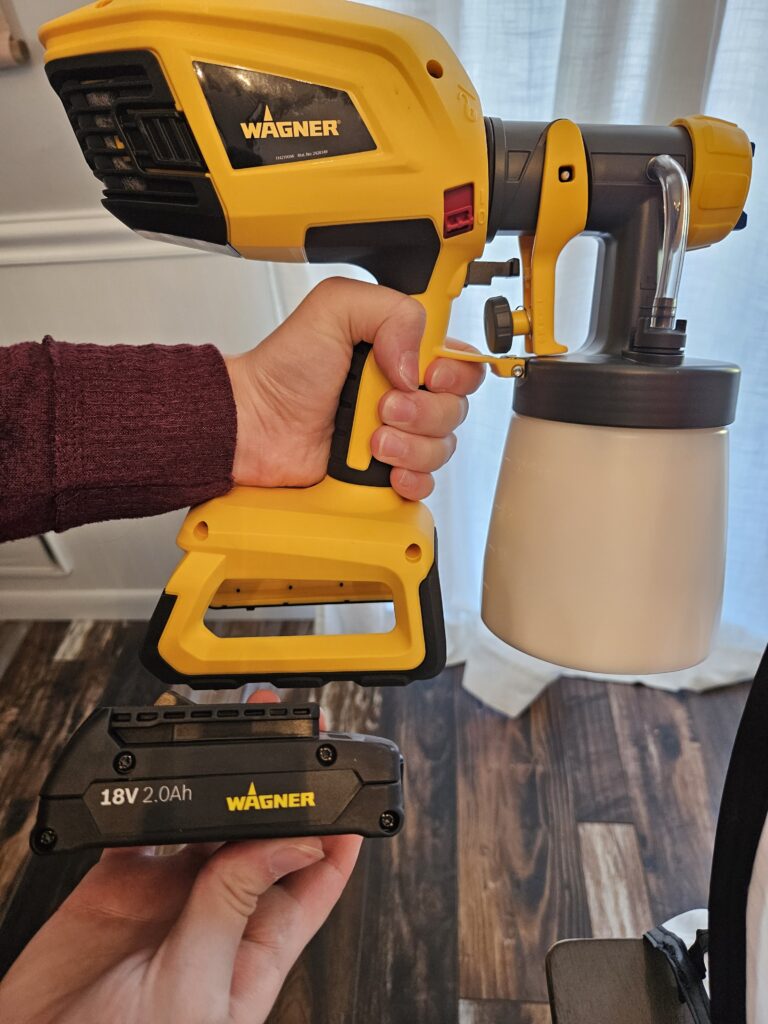
Next, strain your paint and pour it into your paint sprayer. Since we’re using the Detail Finish nozzle we also thinned the paint by 10% to run smoothly and give a smooth finish. Adjust the settings as needed and practice on a piece of cardboard beforehand. Finally, make sure your battery is fully charged before clicking it into the sprayer base.
Step #3

Paint
Now it’s time to paint the holiday village houses! Adjust the sprayer to the vertical setting and start spraying on one side in slow, even vertical motions while pulling the trigger. Spin the TurnTable as you’re painting so you don’t need to touch the wet paint. When reaching the end of a pass, release the trigger and pull it again when starting another pass. We recommend overlapping by 50% to ensure even coverage.
Step #4
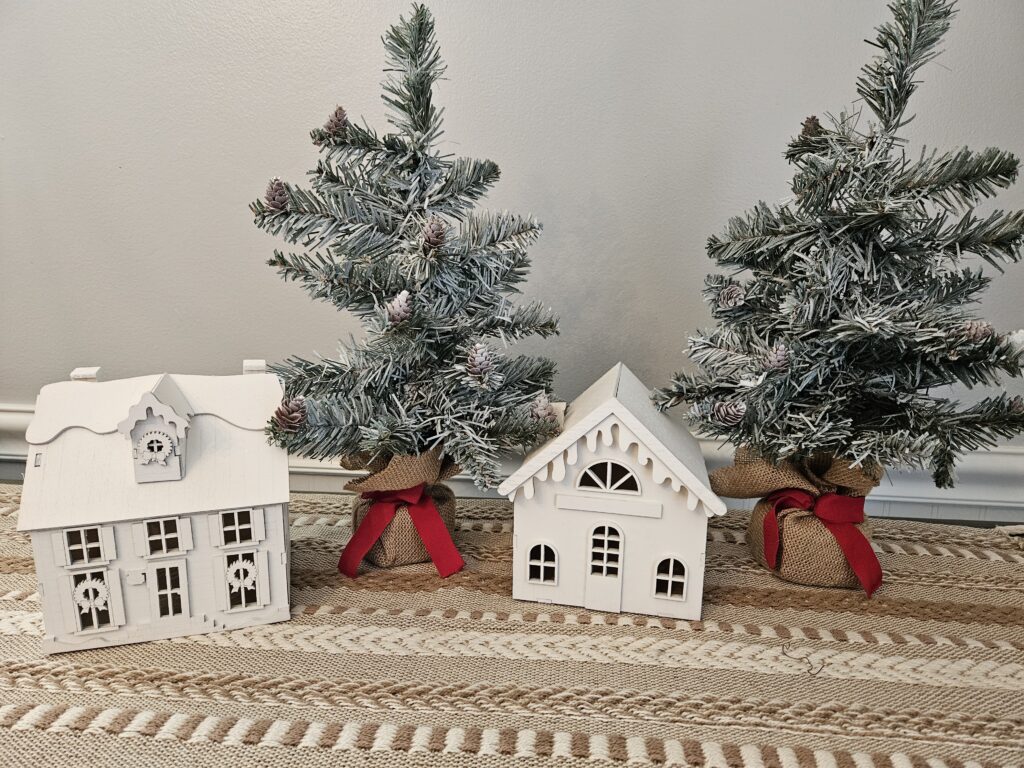
Decorate and Enjoy
Allow the paint to try and enjoy your holiday village! We decided to keep these houses white, but they would also look cute with red accents or even holiday stickers! What would you add?
Step #5

Download Project Steps & Shopping List
We’ll never share your email with anyone else


