Overview
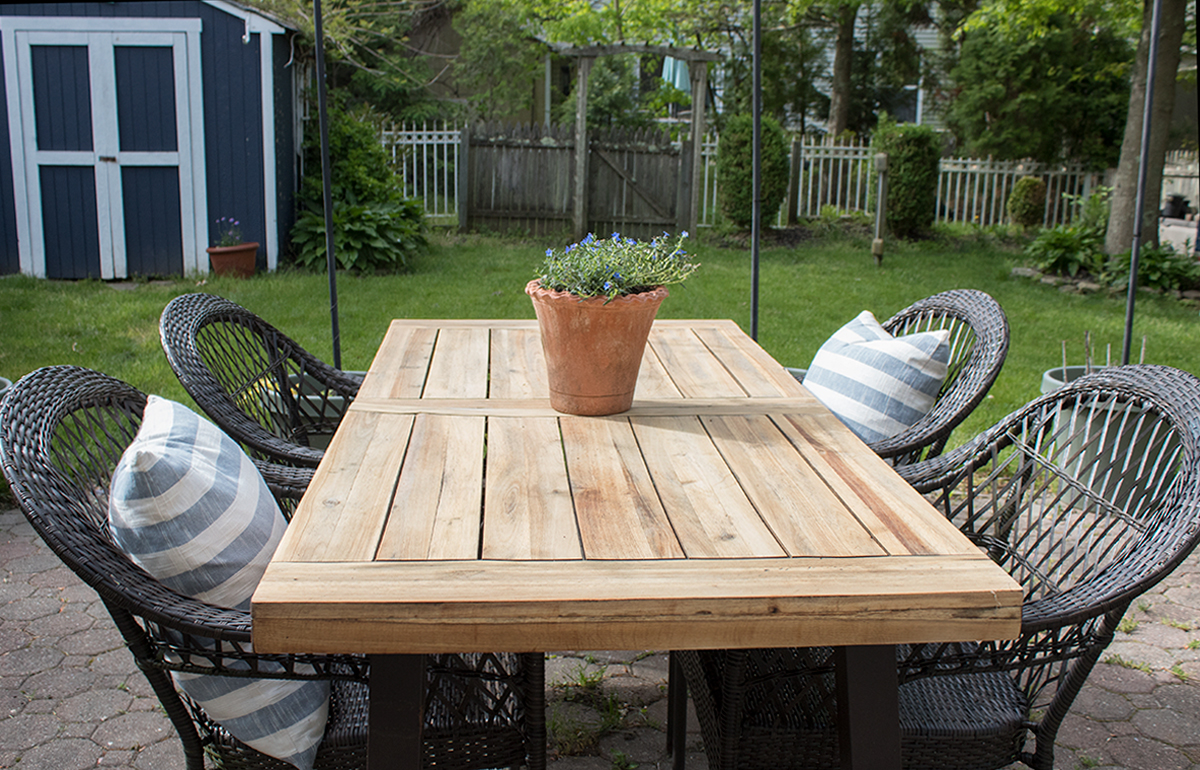
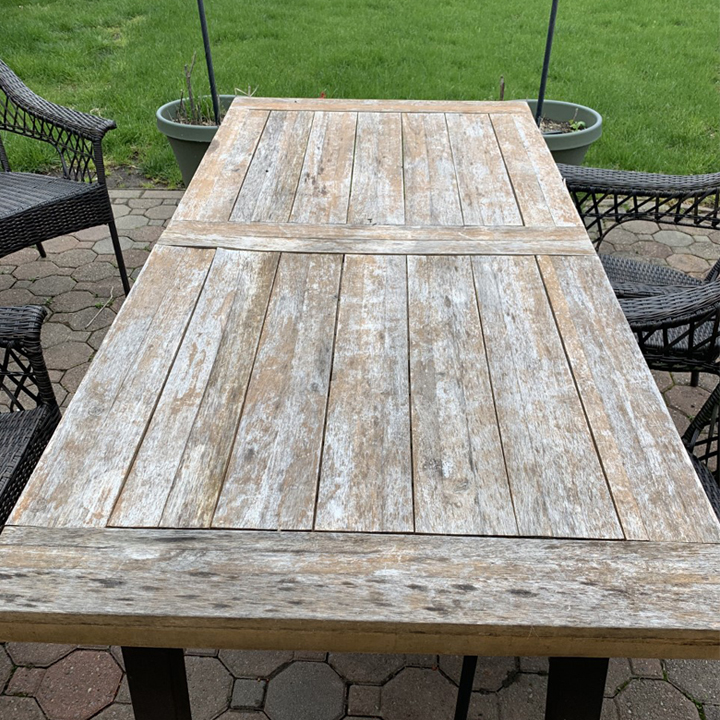
I’m ashamed to admit that although my patio table is only about 2 years old, it has weathered so much that it looks much older. We do not have room in the shed to store it in the winter and I forgot to get a protective cover for it. Fortunately, this was easy enough to restore back to it’s original finish. First, here is the embarrassing before photo.
Before
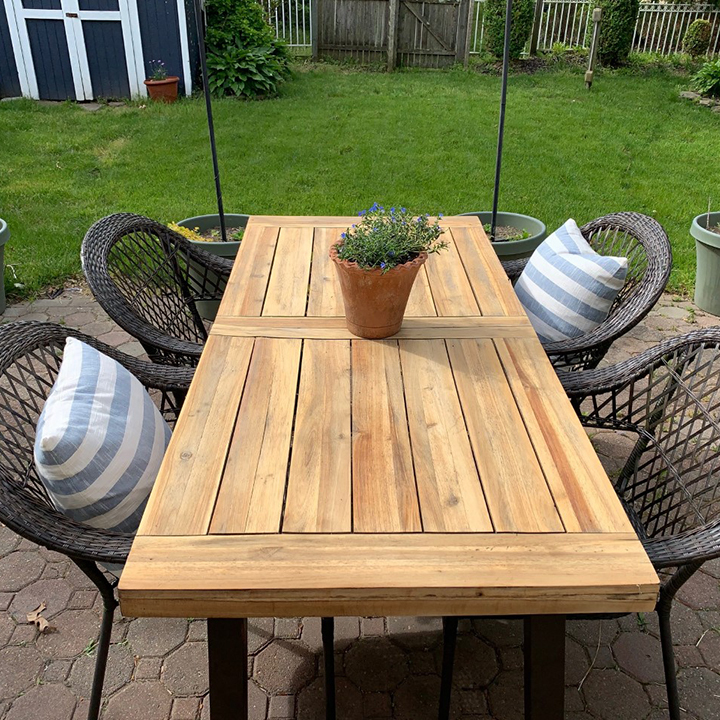
After
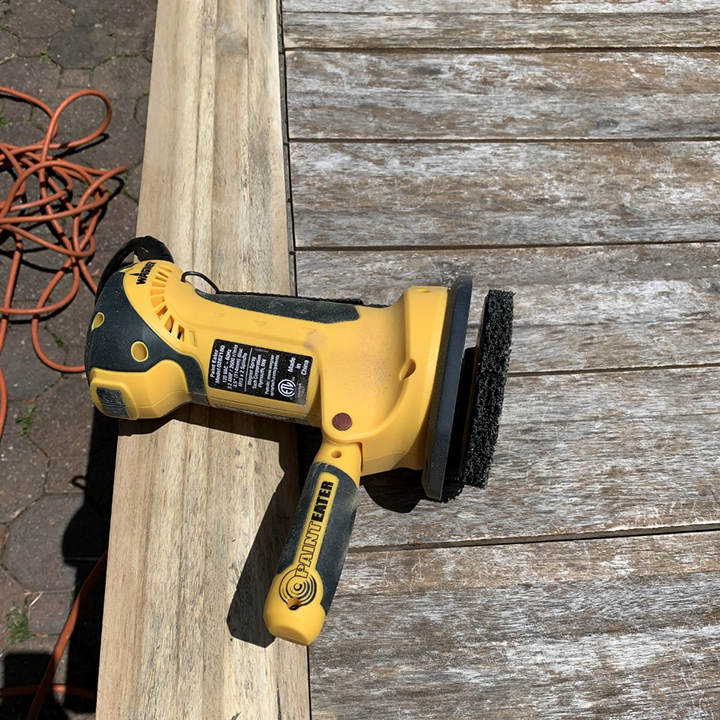
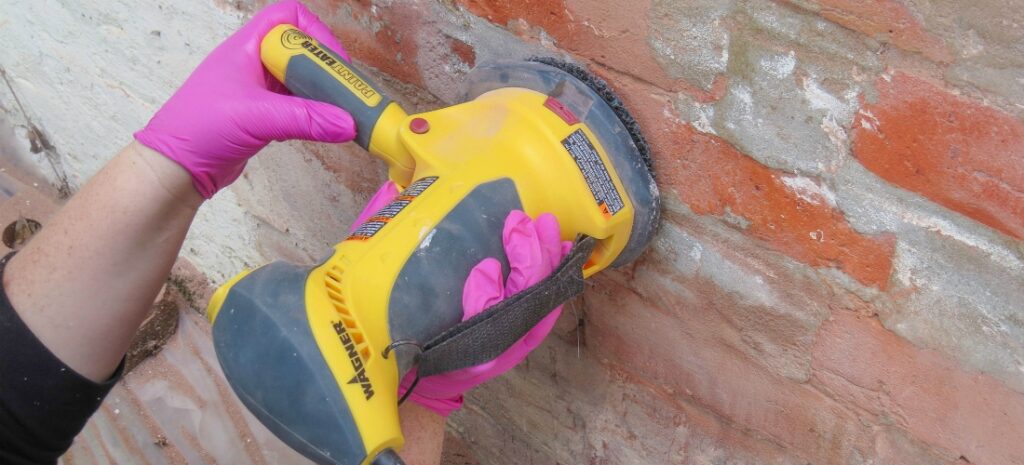
Sand with Wagner PaintEATER
To begin, I sanded down the wood top and sides with my Paint Eater. This tool makes fast work of sanding with very little elbow grease!
Step #1
Go in on the Details
After that, I followed up with a small palm sander for the more detailed areas, especially the sides. This didn’t take long at all thanks to the Paint Eater. Here is how it looked after sanding.
Step #2
Spray with Sealer
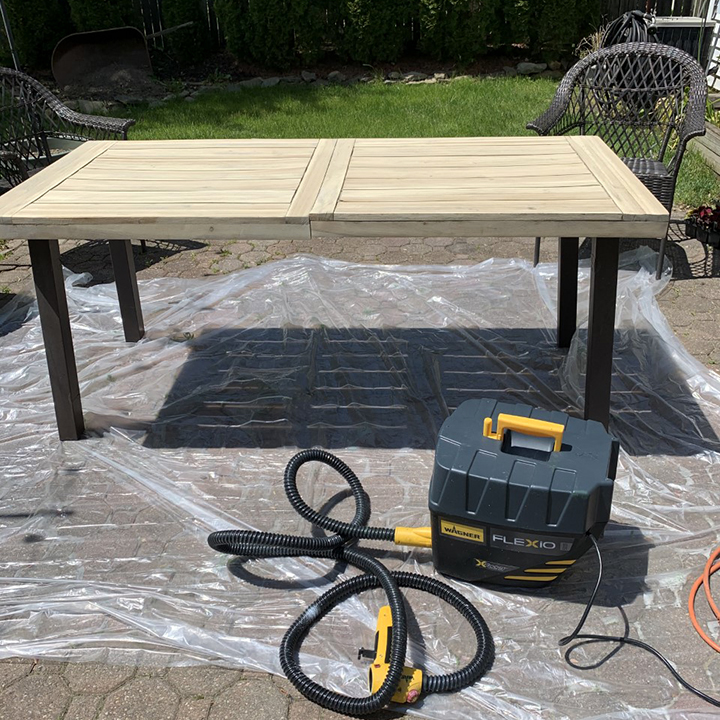
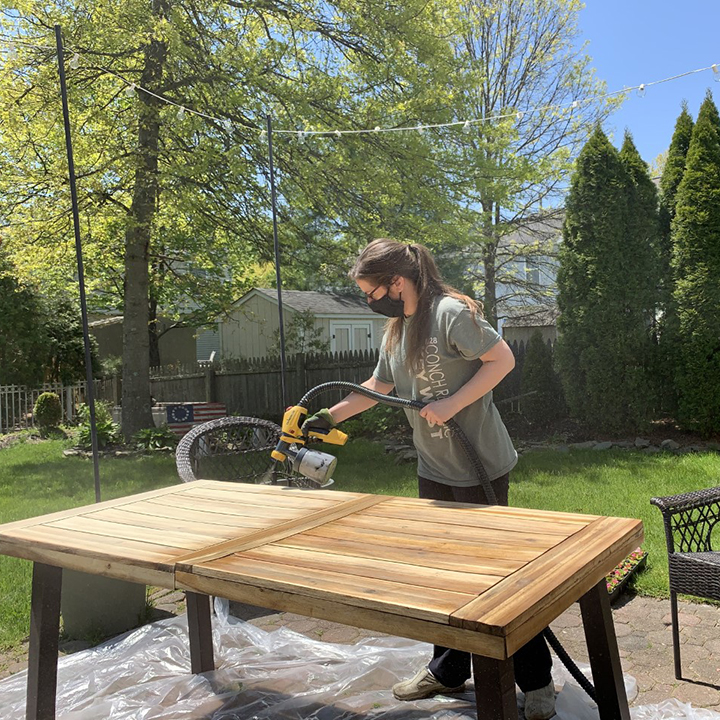
I wanted to add a protective coat but keep the natural teak finish of the wood. Thompson’s Water Sealer had good reviews and was compatible with use in a paint sprayer so that is what I chose to use. I picked the clear finish.
I put a plastic dropcloth down to protect my patio and set up my Wagner FLEXiO 5000 Paint Sprayer with the clear sealer.
I sprayed one heavy coat of the sealer on the table. Using the FLEXiO paint and stain sprayer made really quick work of it! And now I almost can’t believe the difference between the before and after!
Step #3
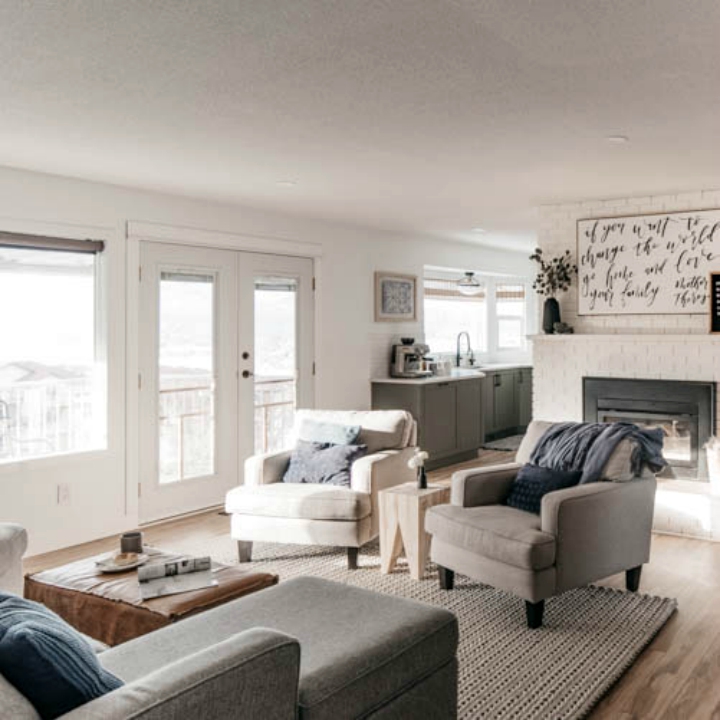
Enjoy your Restored Table!
Oh how quick and easy this project is with the right tools! It was literally only two to three steps to restore this back to like-new condition! Now on to my next project!
This sponsored post was created by The Honeycomb Home. Head to the blog for the full post and details about the project.
Step #4

Download Project Steps & Shopping List
We’ll never share your email with anyone else

