Overview
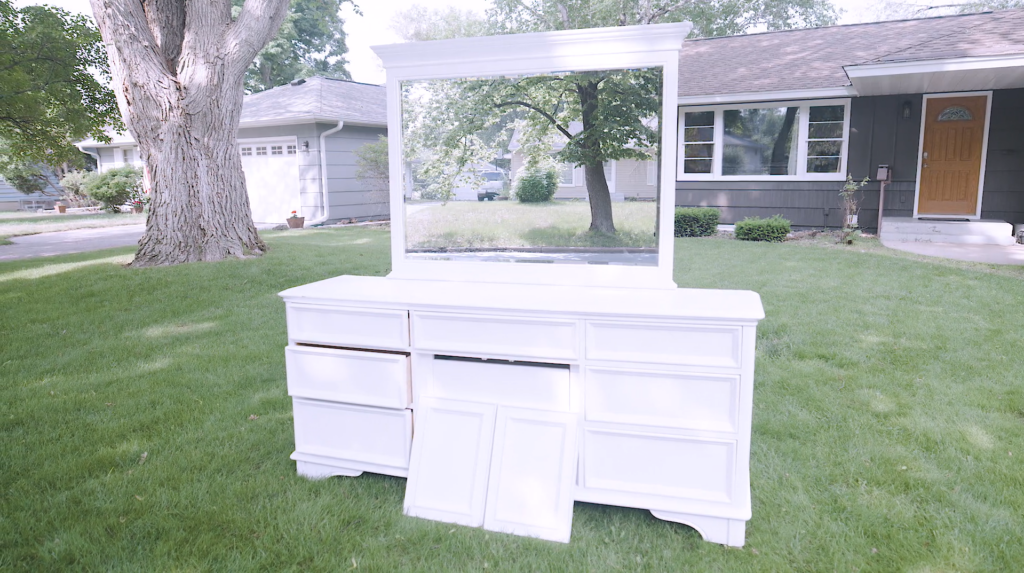
Painting or staining furniture is a great way to refresh an outdated furniture piece or bring new life to a family heirloom. Whether you found a piece of furniture on the side of the road or want to update a piece of furniture to match your current home’s style, the process is simple! We’ll walk through how to paint and stain furniture the easy way using Wagner tools. We found this pre-primed dresser at a local garage sale and wanted to provide a new look. We’ll be painting the bulk of the dresser and apply a nice stain to the top for a two-toned look.
Before
After

Instructions
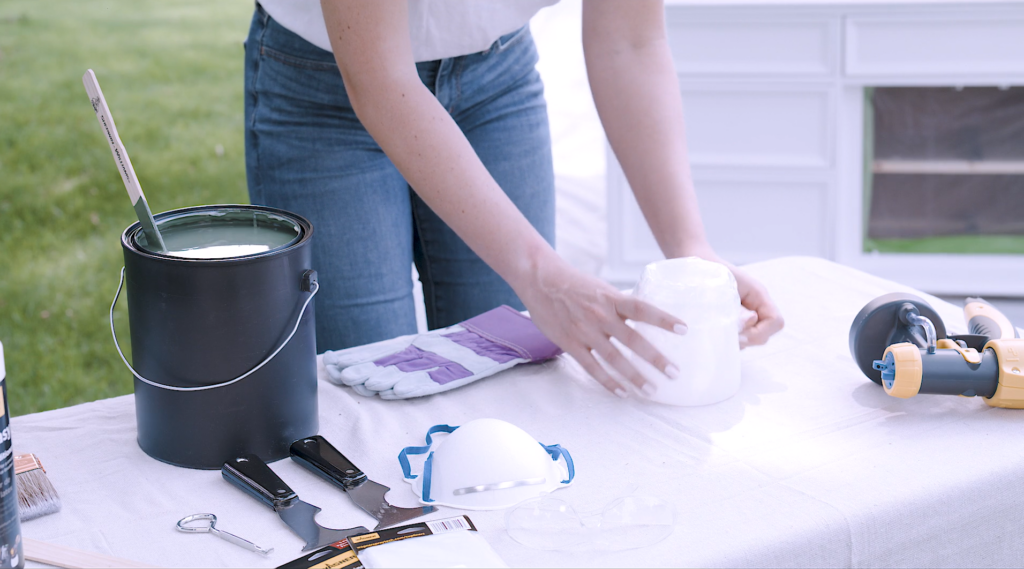
GATHER YOUR MATERIALS
Start by gathering your materials to complete the project. You’ll need the following supplies:
- FURNO 500 heat gun to remove paint from the top
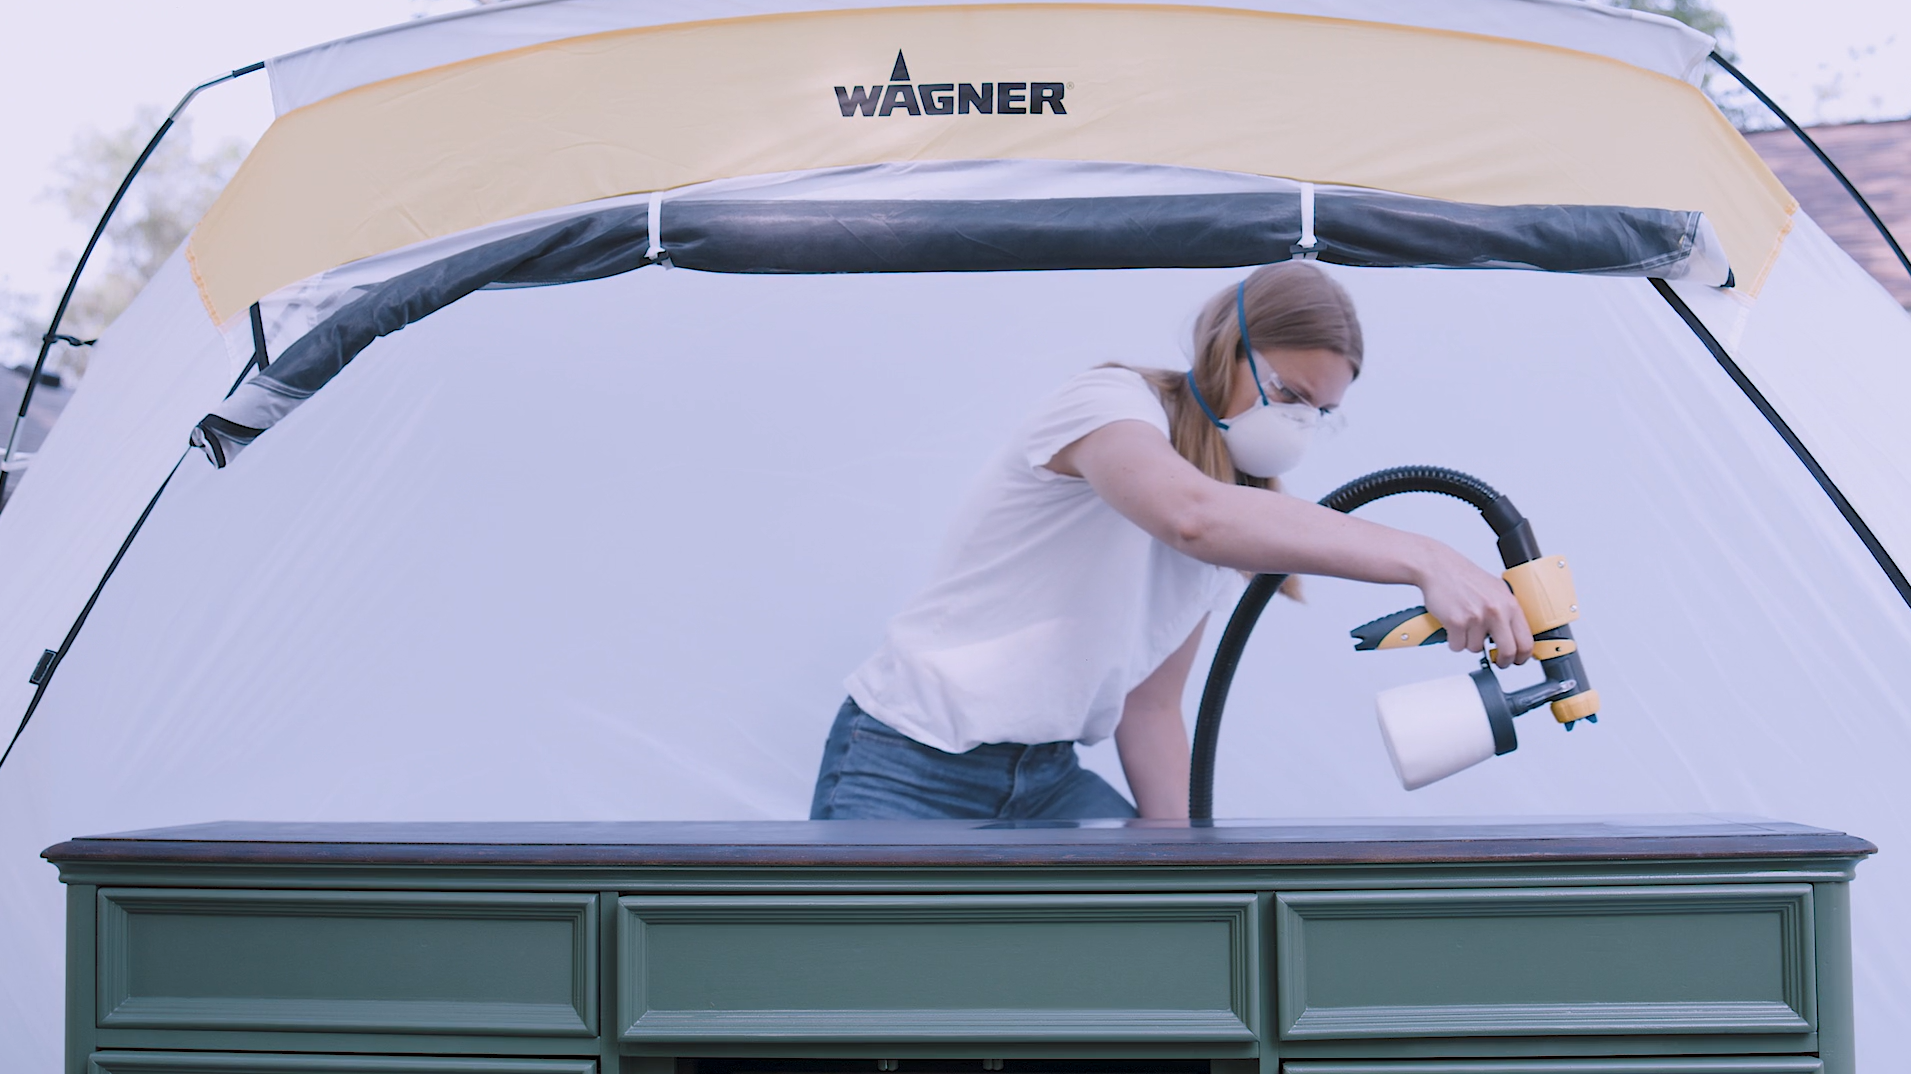
- FLEXiO 4000 paint sprayer to apply the paint, stain and sealer. We’ll use the Detail Finish nozzle to get a smooth finish.
- The Large Spray Shelter to protect the surrounding workspace
- Painter’s tape and plastic masking
- Sandpaper or an orbital sander
- Heat resistant gloves
- A paint scraper
- A painting mask or respirator
- And a high quality stain, paint and sealer in the color of your choosing
Step #1

CLEAN AND PREPARE THE FURNITURE
Giving the furniture a good deep clean before starting is a great first step. This will ensure that the surface is clean and free of built-up dirt and sticky substances. To do so, use a simple solution of dish soap and warm water, then wipe dry with a microfiber towel.
Also look over the furniture and see if any areas need to be repaired. Fill or repair any holes or cracks with wood putty and allow to dry.
Step #2
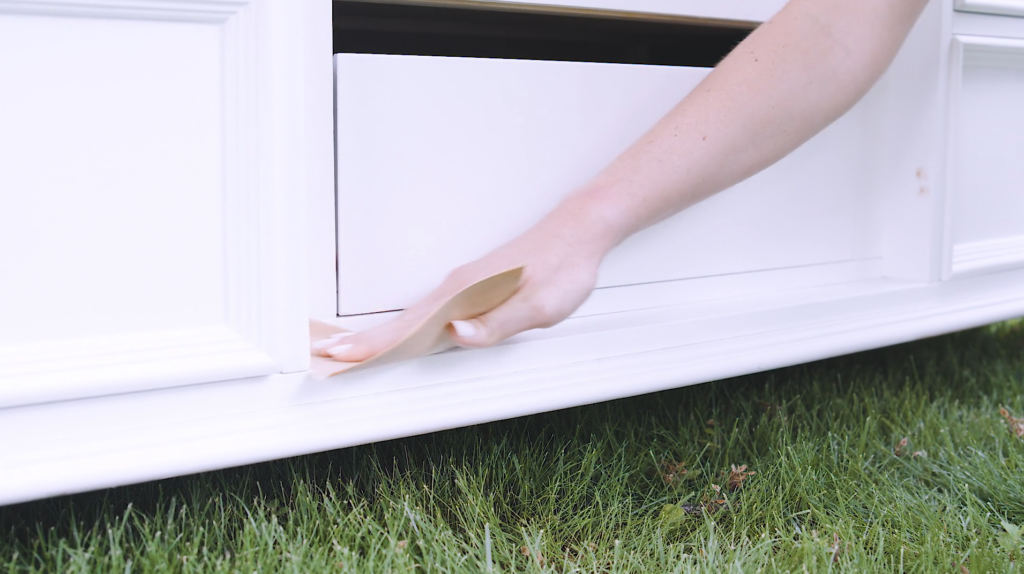
SAND THE FURNITURE
Give the entire piece a light sand to make sure everything is smooth and ready for top coat then wipe it down again.
Step #3
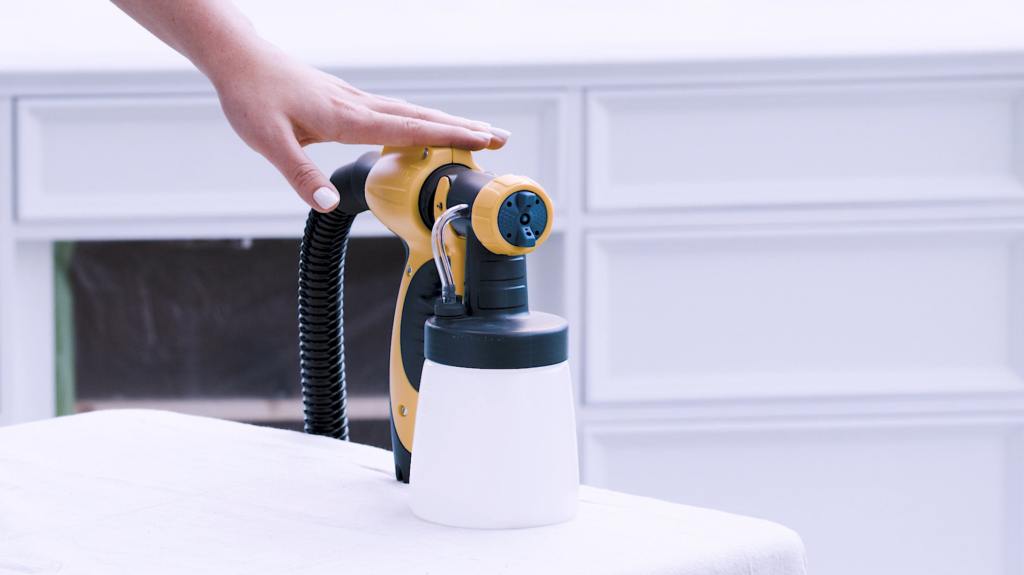
PREPARE THE SPRAYER AND AREA
Next, prepare your sprayer for painting. The Wagner FLEXiO 4000 is a great tool for this job. Not only will it make this project quick and easy, it will also provide a better finish than a brush or roller. Plus the turbine is separate and on the ground making the gun smaller, lighter, and easier to use.
For this project we chose to use the Detail Nozzle to help provide us with the fine finish we are looking for. Finally, we’re using the Wagner’s Large Spray Shelter so we don’t have to worry about overspray and it will stop any leaves or bugs from ruining our finish during dry time.
Start by adding a Wagner cup liner to the container, then pour your paint into the cup liner. Connect the container to the nozzle and the nozzle to the gun.
Step #4
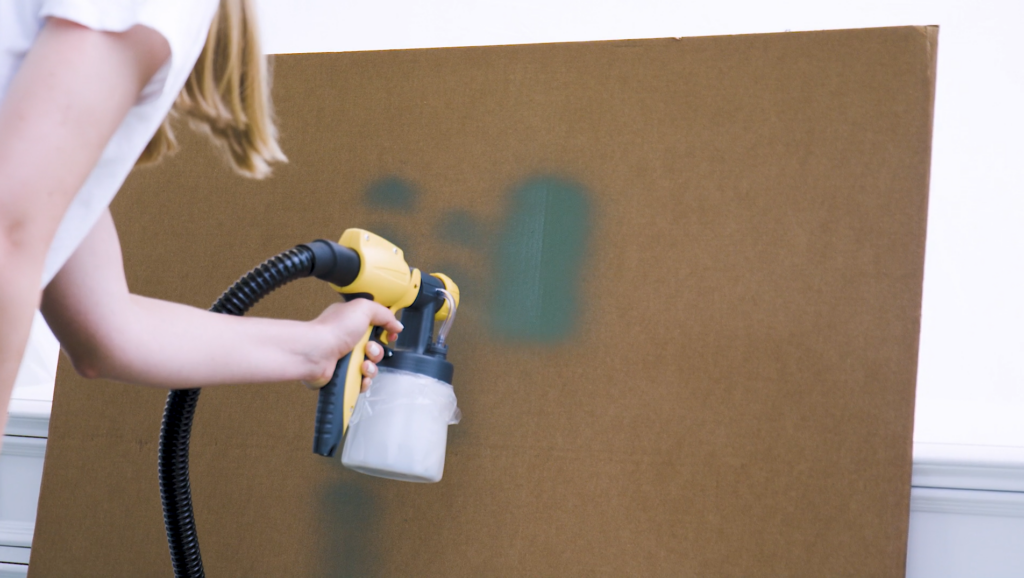
PRACTICE THE SPRAY PATTERN
Make sure to always wear a mask and safety glasses when spraying and test your spray pattern on a piece of cardboard to fine tune the settings.
Since we’re using latex paint, we are going to start our test on the high volume control settings for this thick material.
We will start with the material flow and air flow controls turned all the way up, then adjust down to achieve a nice even spray pattern.
If you are still having trouble getting a nice even spray pattern, we suggest using Wagner’s Paint Easy to help condition the paint ensuring the fine finish you are looking for.
Step #5
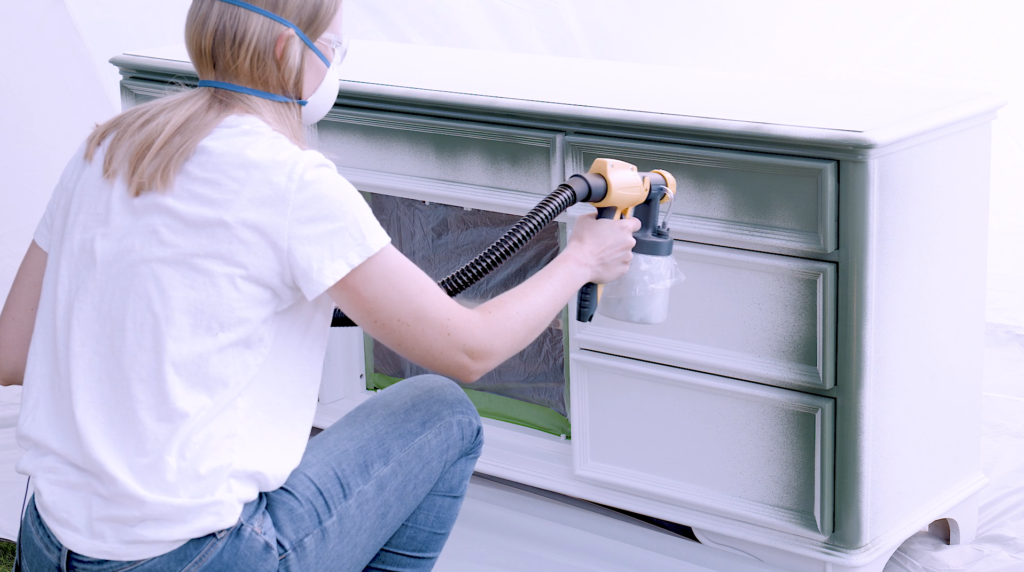
PAINT THE FURNITURE
Now you’re ready to start painting! Hold the gun 4-6” away and perpendicular to the surface. Start spraying just before the edge of the surface and release the trigger just after you pass the opposite side. Spray nice, even strokes and overlap the passes by 50% to achieve even coverage.
Adjust the spray tip from horizontal to vertical spray patterns to ensure you are spraying with the wood grain.
Once complete, we will let the base coat dry for a few hours before applying a second coat. To stop the drawers from sticking, we will pull them out slightly while they dry.
Step #6
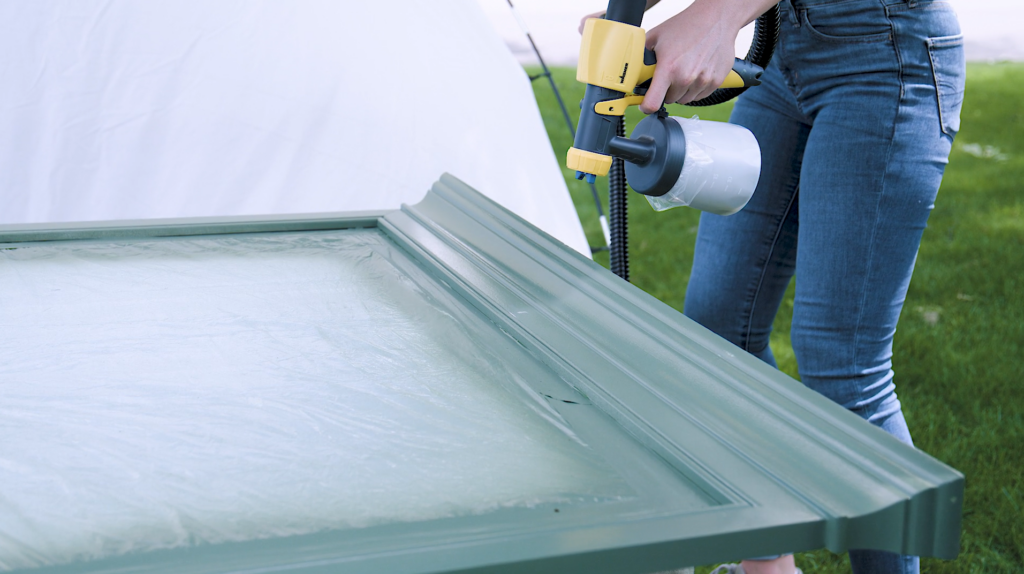
APPLY A SECOND COAT
After the paint is dry, lightly sand the painted surface one more time. Make sure any bumps, runs, or rough spots are removed from the surface for the application of the final coat. Then apply the second coat following all the same steps and allow it to dry overnight.
Step #7
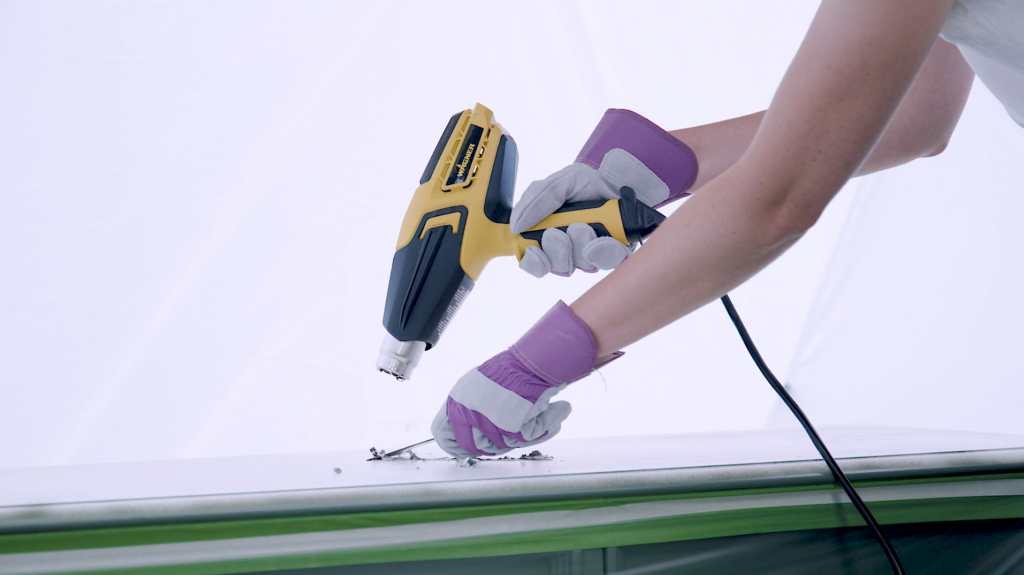
REMOVE PAINT FROM THE TOP
Next, we taped off the base of the dresser since we’ll be removing paint from the top and then staining. The Wagner FURNO 500 is great for removing paint from surfaces and has a variety of heat settings to tackle other projects. For this project, we will set the temperature and fan to high.
Wearing safety gloves, hold the tip of the FURNO about 3-5 inches above the surface of the paint. Be sure to keep the heat gun moving to avoid burning any paint or the surface of your project. As the paint starts to bubble, scrape it off with your scraper. Once the majority of the paint is off, sand off the rest with 220 grit sandpaper and wipe clean.
Step #8
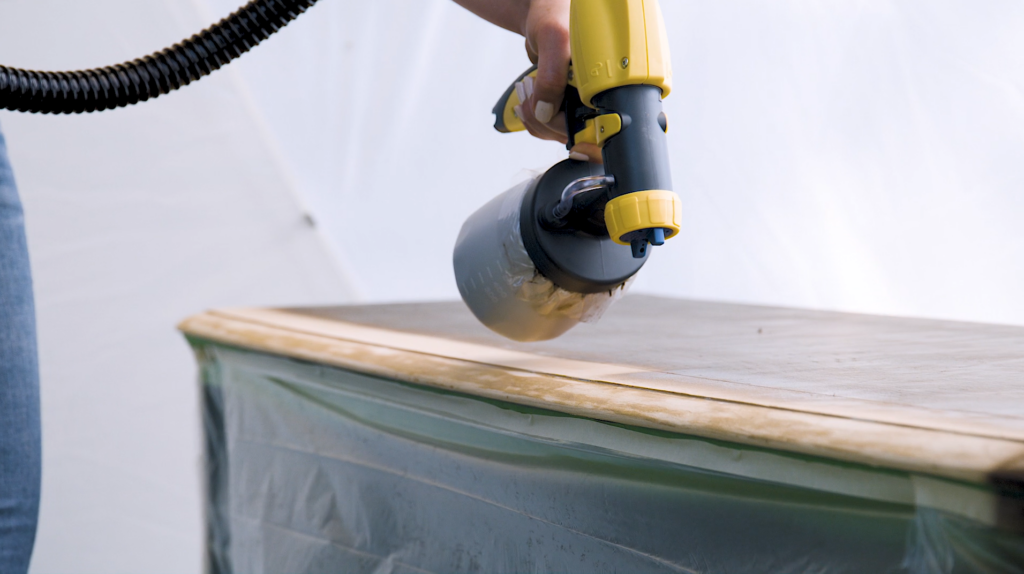
STAIN THE TOP OF THE FURNITURE
Now you’re ready to stain the top! To make clean up easy, add another Wagner cup liner to your paint container and pour the stain into the cup liner. Test the spray pattern again on a piece of cardboard before spraying the piece. Since we’re using a thin stain, we’re going to turn all the settings to the lowest settings then gradually increase as needed.
With the settings dialed in, you can start staining your project! Follow all the same tips as when you painted the base and be sure to overlap the passes by 50%. Once complete, just wipe off excess stain with a lint free rag and let the stain dry.
Step #9

APPLY A SEALING COAT OF POLY
Remove the masking and allow the entire piece to dry overnight before applying a sealing poly coat to the entire dresser. Like the stain, when spraying poly you’ll want to practice the spray pattern on a piece of cardboard with the sprayer on the lowest settings. Gradually increase as needed.
With the poly, give the entire piece a light sealing coat. You can add a second sealing coat if necessary, but make sure to not apply the poly too heavy. Let it dry before adding the finishing touches.
Step #10

ENJOY YOUR FURNITURE
Once completely dry, remove all the masking, add new pulls, and enjoy the new furniture! You’ll have a nice, modern look without the cost of buying new.
Step #11

Download Project Steps & Shopping List
We’ll never share your email with anyone else

