Overview
Giving your front door a pop of color is a great way to boost your home’s curb appeal. And with a FLEXiO 4300 paint sprayer from Wagner you’ll get it done fast with professional looking results. Plus, it’s easy and fun!
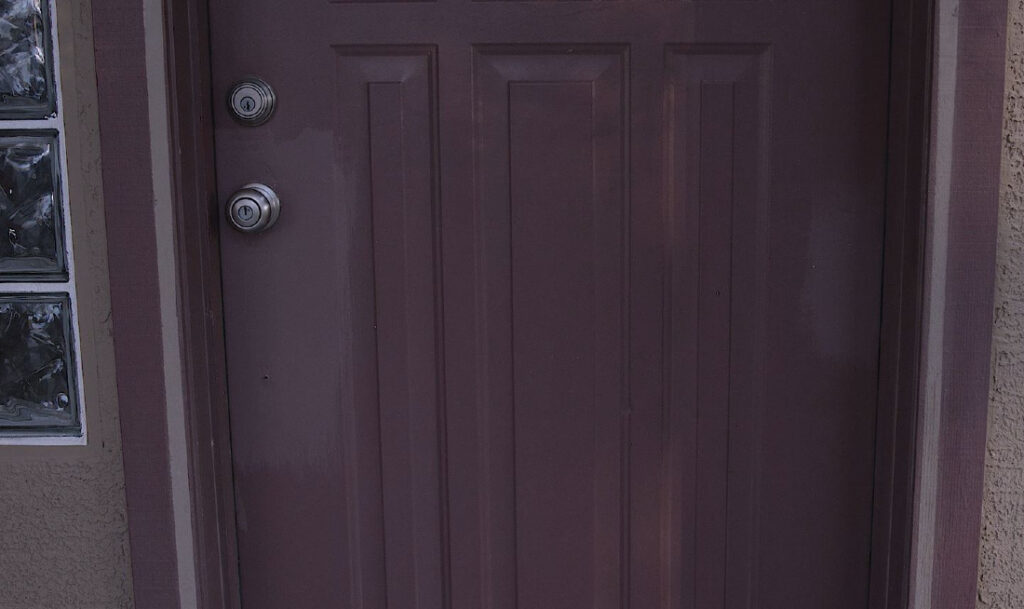
Before
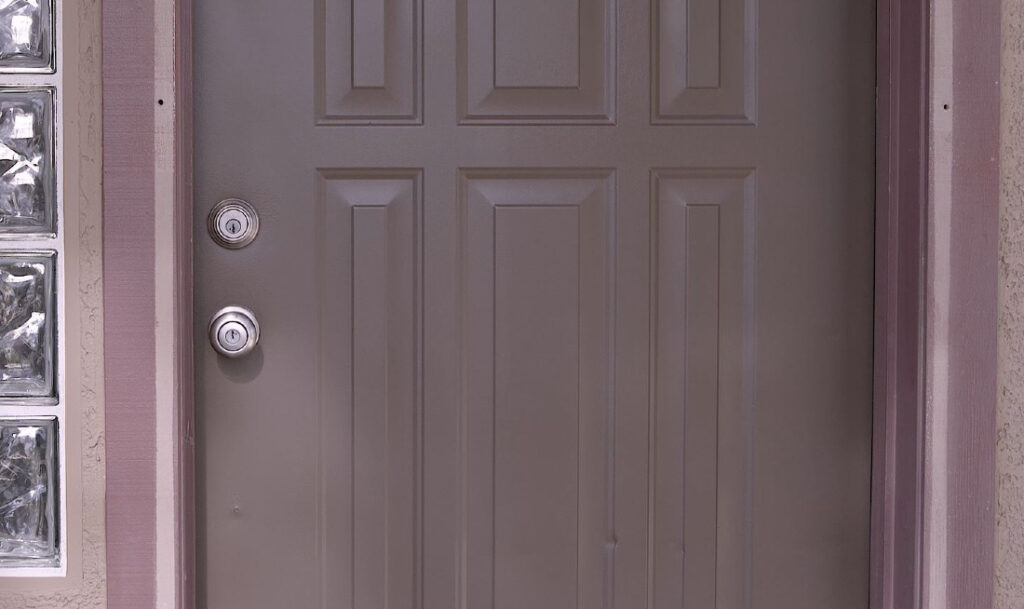
After
Instructions
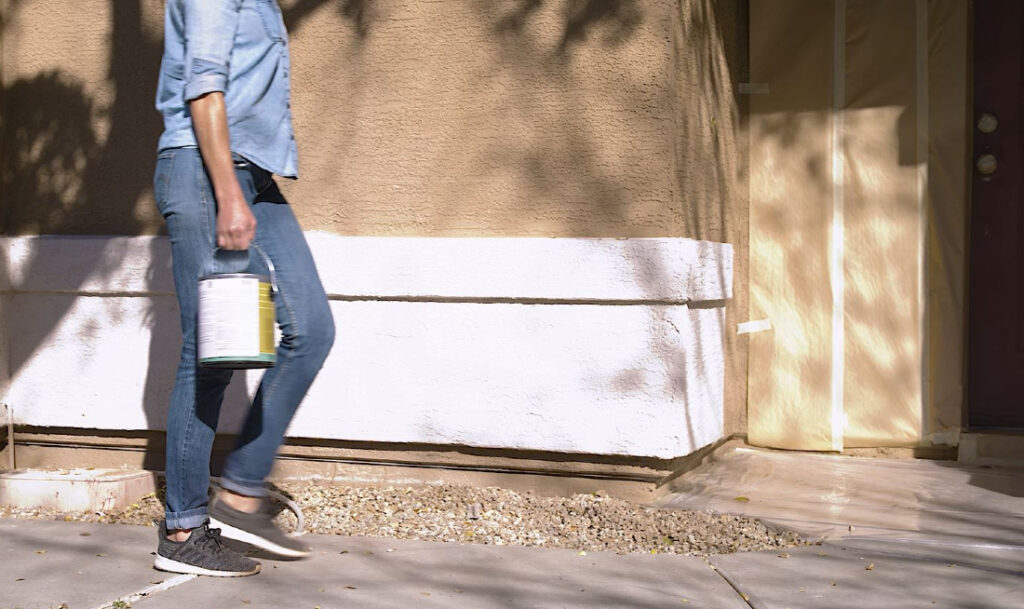
GATHER YOUR MATERIALS
Start by gathering your materials. For this project you’ll need:
Step #1

SAND THE DOOR
Start by sanding the door with 150 grit or higher sandpaper. This will help remove the old finish and allow the new coat to have something to stick to.
Step #2
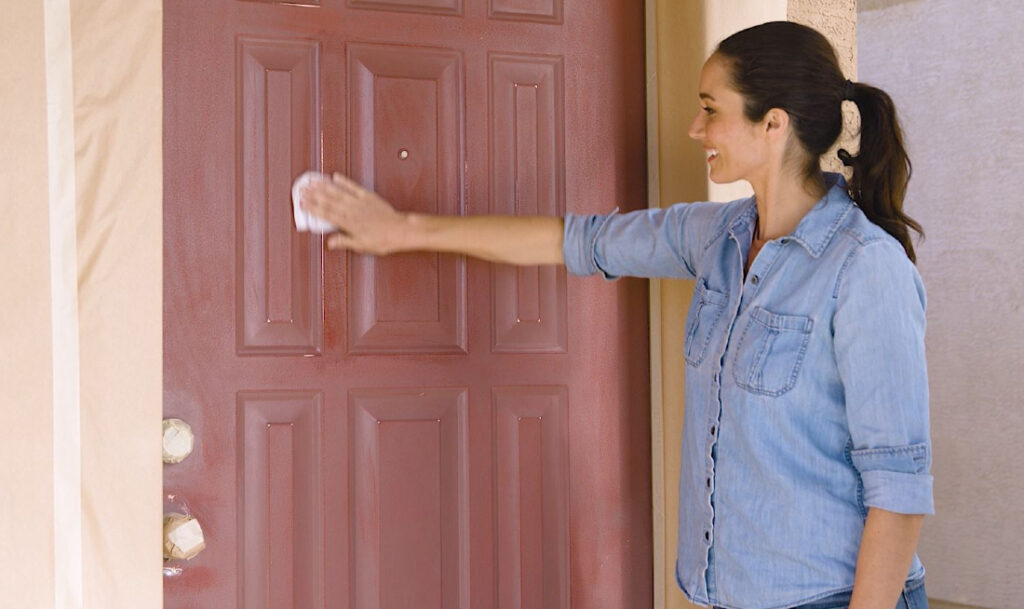
CLEAN THE DOOR
Afterwards, clean the door with a damp rag to remove any dirt, dust, grime or sanded finish.
Step #3
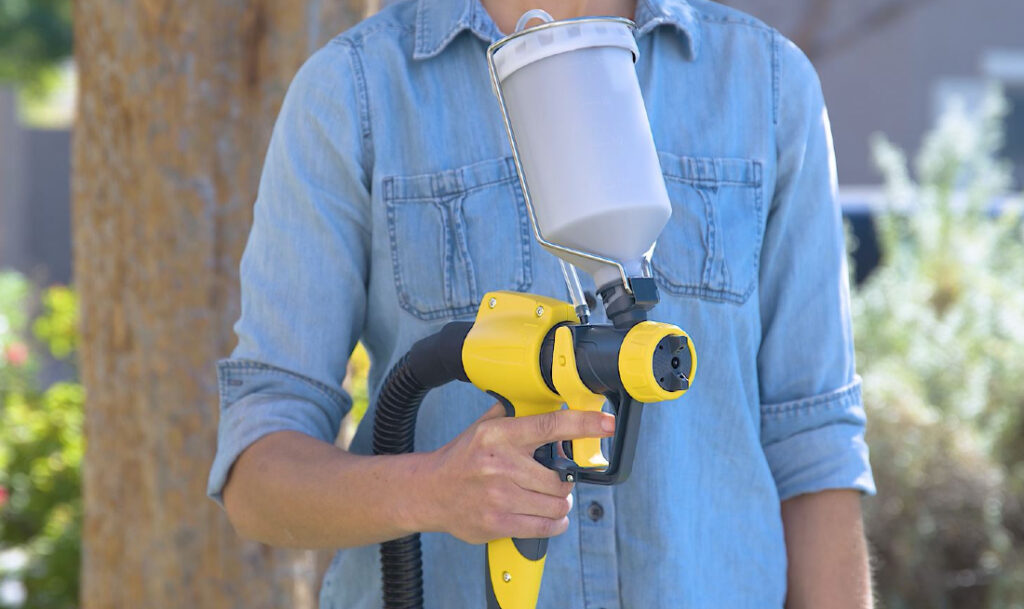
PREPARE YOUR SPRAYER
Set up your FLEXiO 4300 sprayer using the Gravity Nozzle. This is perfect for jobs like this where it might be difficult getting into corners and other tight areas.
Step #4
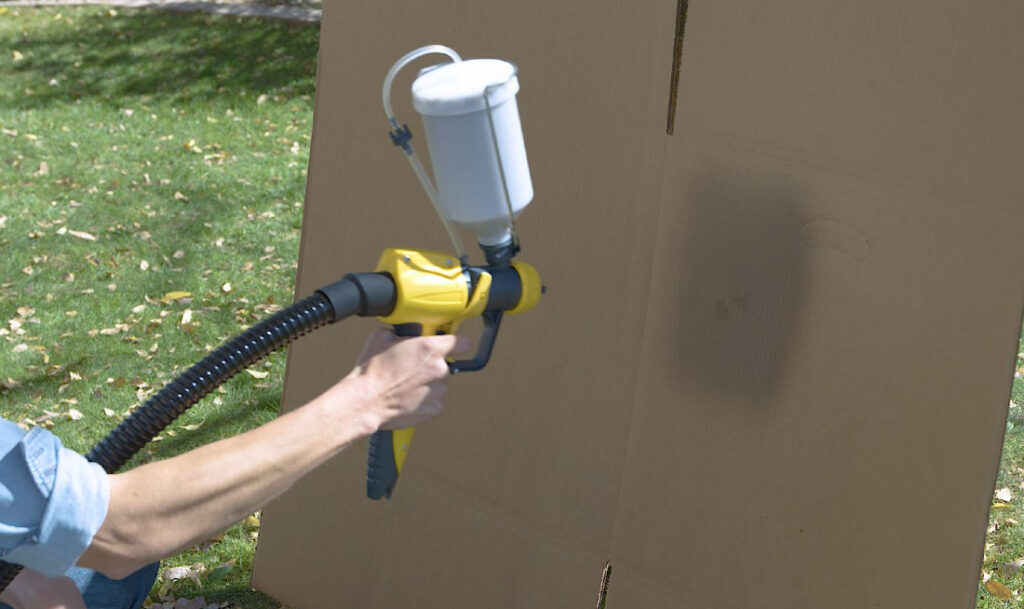
PRACTICE YOUR SPRAY PATTERN
Practice your spray pattern on a piece of cardboard. Adjust your air flow, material flow and spray width until you’re satisfied with the spray pattern. Every paint and stain is different, but generally you’ll need to thin exterior paint by 10-15% with the Gravity Nozzle to achieve a super smooth finish.
Step #5

START SPRAYING
Now you’re ready to spray! One tip is to remove the weather stripping on the door so you can paint all the way to the door’s edges without getting paint inside the house.
Step #6
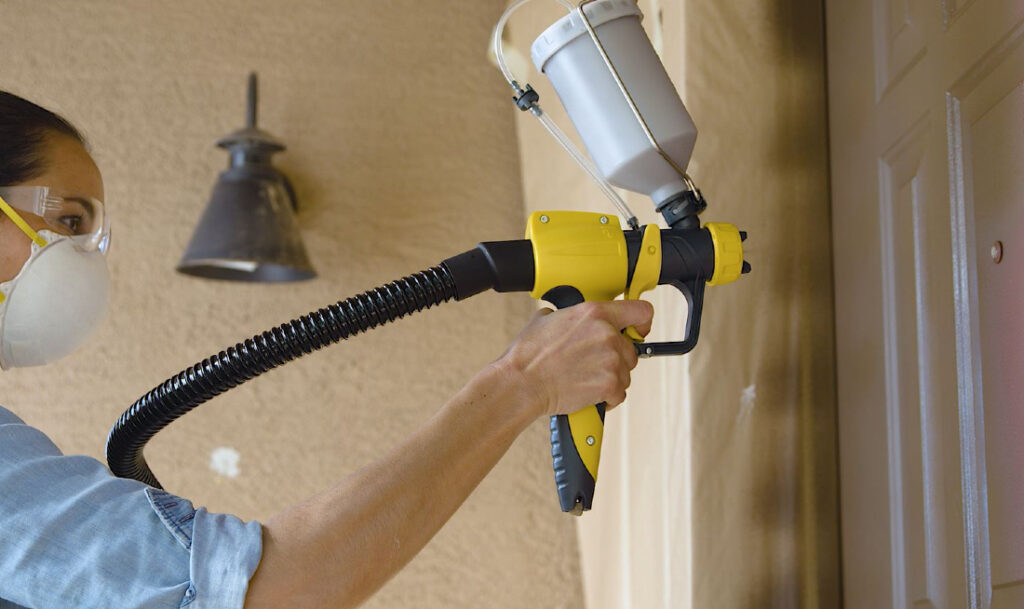
FINISH PAINTING THE DOOR
You can adjust the spray pattern to horizontal or vertical depending on the direction you’re spraying. If you’re completely changing the color of the door, two coats of paint might be needed for best coverage.
Step #7

ENJOY YOUR NEW FONT DOOR
Enjoy your freshly painted front door! Whether you completely changed the color of the door or simply touched up the paint, this easy DIY will be sure to make a difference and wow your guests.
Step #8

Download Project Steps & Shopping List
We’ll never share your email with anyone else

